Want Faster, More Consistent Woodworking Results?
Click Here to Pick Your Free Gift Now!
This garden love seat is made using pine slats and marine plywood supports. Once sealed there’s no reason why the bench shouldn’t last a lifetime with regular care and maintenance.
If you prefer not to use pine you can use almost any hardwood to make the slat garden love seat.

This seat is large enough for two, but you can make it a single seat, or make it longer by adding additional supports and longer slats.
YOU WILL NEED:
- 1 of 900 x 900mm 16mm marine plywood
- 7 of 20 x 94mm PAR pine – cut to 1040mm length
- 12 of 20 x 69mm PAR pine
- 3 cut to 1000mm length
- 9 cut to 1040mm length
- 5 x 50mm cut screws
- Wood glue
- Wood filler (tinted for finished colour)
- Exterior sealer
- Mineral turpentine
- Rags
TOOLS:
- Drill / Driver plus assorted bits
- Jigsaw and clean-cut blade
- Orbital sander plus 60-, 120- and 240-grit sanding pads
- Paintbrush
- Tape measure and pencil
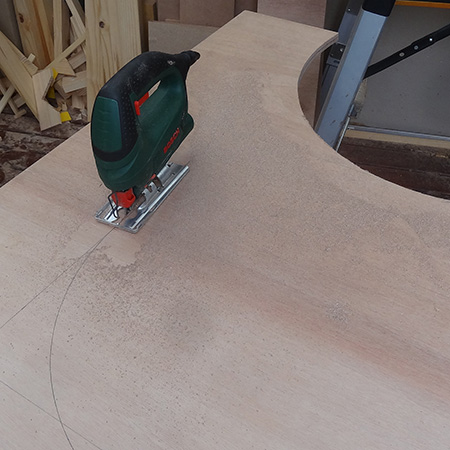
1. The sides and centre supports were cut from the 900 x 900mm piece of marine plywood. The curves were drawn using the lid from a bbq. Any large circular item can serve as a template.
2. After cutting out the sides the remaining piece was used to cut the centre section. There wasn’t enough to cut a complete section, so pieces were cut to make a whole section and these were joined together using a biscuit joiner and exterior wood glue
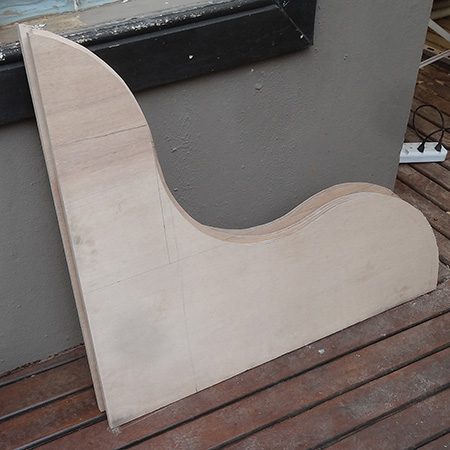
If you want to add more supports – for a solid centre section or longer bench – you need to use a second sheet of 900 x 900mm marine plywood.
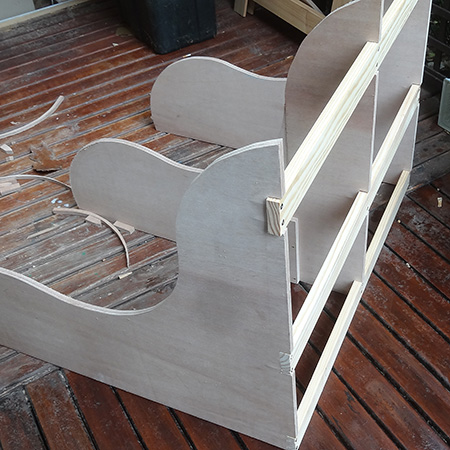
4. Drill 4mm pilot holes through the pine into the plywood supports and secure with 50mm screws – two screws at each join.
5. Secure the first 20 x 94mm plank at the top of the bench, making to allow a 20mm overhang on both sides. Drill pilot holes before securing with two screws at each join. Repeat this at the front (bottom edge) of the bench to ensure the supports are equally spaced from top back to front.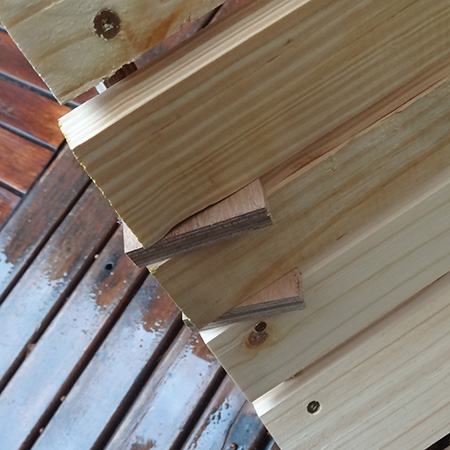
6. There are two 94mm planks at the top back and front bottom, as well as three 94mm planks on the seat, the remainder of the planks are 69mm. Dry fit the seat planks as best as possible and then use spacers to make sure the gaps are equally spaced before securing to the supports.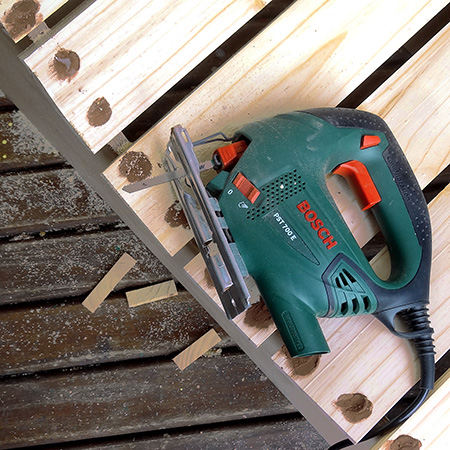
7. All the holes can be filled with wood filler. Match the colour of the wood filler to the final colour that you will stain the bench. We used imbuia wood filler on all the holes. Let the wood filler dry.
8. In the meantime you can use a jigsaw to trim any edges if necessary. However, this shouldn’t be required if the supports are aligned and the planks are cut to the same length.
9. Use 60-grit sanding pads to sand away the sharp edges between the slats. You want the finished seat to be as smooth as possible. Also sand away any rough edges on the sides, and round off the edges of the slats. You could also use a router and roundover bit on the edges of the slats.
Finishing
Repeat the sanding process with 120- and then 240-grit sandpaper for a smooth finish. Use a cloth lightly dampened with mineral turpentine to wipe away all traces of dust.
Apply sealer according to the recommended instructions. Three coats are applied with a light sanding between the first and second coats
Work Smarter, Not Harder – Click Here to Grab Your Free Woodworking Resource...